How to control dimensional tolerance and form and position errors during the production of high-precision stamping parts?
 2025.05.16
 Industry News
In the production process of high-precision stamping parts, the control of dimensional tolerance and form and position errors is a basic and critical task. This link is not only related to whether the parts can meet the basic requirements of assembly and matching, but also directly affects the stability, service life and final performance of the product. Control measures have been involved since the mold design stage. The mold is the core tool for achieving high-precision stamping. Through reasonable cavity structure design, dimensional matching, tolerance distribution and unloading device optimization, it can lay the foundation for the subsequent forming process. During the design, the material's rebound characteristics, deformation path and force direction will be analyzed, and simulation software will be used for prediction and optimization to effectively estimate the deformation trend and dimensional deviation, and regulate from the source.
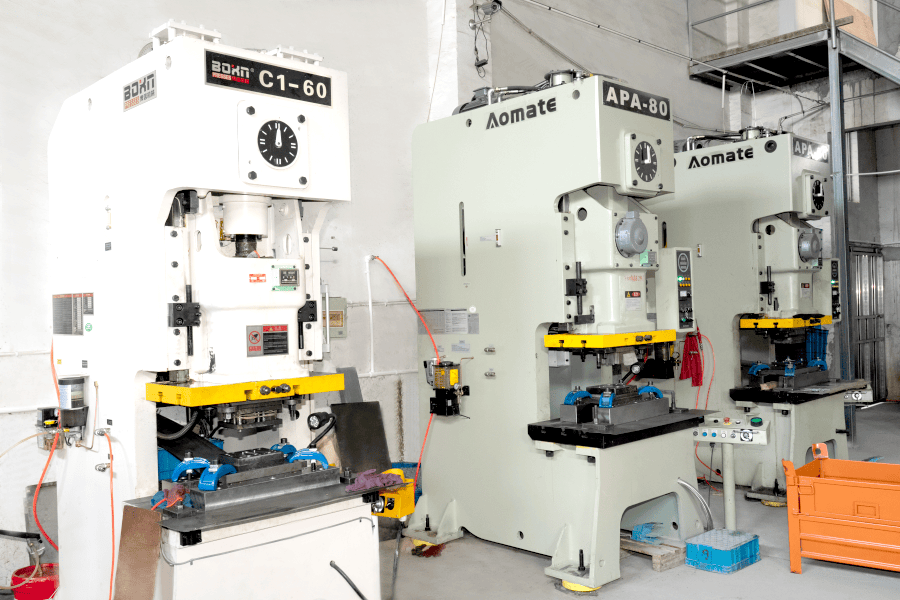
In the actual production process, the stability of the processing equipment and the manufacturing accuracy of the mold also play a key role. Using stamping equipment with high rigidity and low vibration characteristics can reduce impact fluctuations and vibration interference during the forming process. The mold needs to be accurately positioned by high-precision CNC machining and fine assembly. In addition, mold gap control is also an important technical indicator. Different materials and plate thicknesses need to match different gap sizes to reduce burrs, indentations and thickness variations.
The selection and pre-treatment of materials cannot be ignored. The consistency of the same batch of materials directly affects the forming quality of stamping parts, especially in high-precision occasions, which puts forward requirements for the yield strength, elongation and hardness of the materials. Lubrication, leveling and cleaning of materials before stamping can effectively reduce friction and stress concentration, thereby reducing errors caused by uneven deformation.
Process control is another key point to ensure dimensional stability. In production, the accuracy of the gradual forming of the workpiece will be ensured through the arrangement of the stamping sequence, the coordination of multiple processes and the mold positioning system. At the same time, in order to cope with the difficult problem of material rebound, compensation methods are often introduced in the process, combined with fine-tuning of the mold structure to achieve deviation offset.
Quality inspection is indispensable in the production process. By setting the inspection standards for the key dimensions of each process, using measuring instruments such as imagers, three-coordinate measuring machines and gauges, the finished products are sampled or fully inspected to timely discover the source of errors and make adjustments. Combined with statistical process control methods, error trends can be analyzed, early warnings can be given, and batch failures can be prevented.
The control of dimensional tolerance and form and position errors of high-precision stamping parts is a systematic project that requires coordination in multiple links such as design, equipment, molds, materials, processes and testing. The optimization of each detail can provide support for the stable improvement of the quality of the finished product, reflecting the comprehensive requirements of modern manufacturing for efficiency and precision. In the process of continuous optimization and technological upgrading, stamping production is gradually moving towards a more intelligent and data-based direction, laying a solid foundation for precision manufacturing.

 Eng
Eng  中文简体
中文简体
